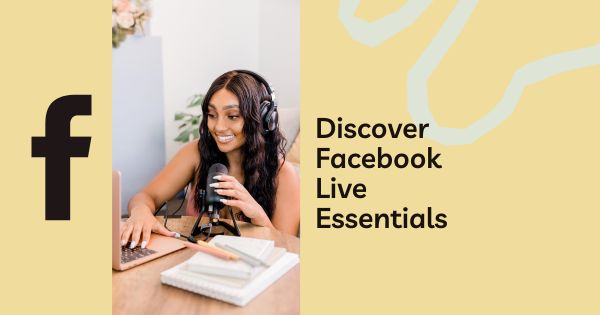
Introduction to Facebook Live: Basics for Beginners – Facebook Live is a powerful tool that allows you to broadcast live video content to your audience in real time. Whether you’re hosting a Q&A, streaming an event, or just chatting with your followers, Facebook Live makes it easy to engage with viewers in an authentic and interactive way. Here’s a beginner’s guide to help you get started.
Step 1: Set Up Your Facebook Live Stream
To start using Facebook Live, you’ll need a smartphone or computer with a camera and microphone.
- On Mobile:
- Open the Facebook app and tap the Live icon (you’ll find this on your News Feed or in the post-creation area).
- Allow the app to access your camera and microphone if prompted.
- On Desktop:
- Go to your profile, page, or group and select the Live Video option.
- Choose whether you want to stream immediately or schedule a broadcast for later.
Step 2: Plan Your Content
Before you hit “Go Live,” take a moment to plan what you’re going to talk about. A rough outline helps ensure your broadcast is engaging and on-topic.
- Know Your Audience: Tailor your content to your viewers’ interests. Whether you’re promoting a product, giving a tutorial, or sharing a personal update, make it relevant.
- Engagement Points: Plan moments to interact with your audience, such as answering questions or responding to comments.
Step 3: Customize Your Settings
Once you’re ready to go live, you’ll need to configure a few settings to make sure your stream reaches the right audience.
- Privacy Settings: Choose who can view your broadcast—Public, Friends, or specific groups.
- Title and Description: Create a catchy title and description for your live video to draw viewers in.
- Location and Tags: Add a location or relevant tags to increase visibility and reach a wider audience.
Step 4: Engage with Your Audience
One of the most powerful aspects of Facebook Live is its interactive features, allowing you to engage directly with viewers in real time.
- Read and Respond to Comments: Viewers can comment as you stream. Address their questions and comments to create a more engaging and connected experience.
- Use Reactions and Polls: Encourage viewers to use the reaction buttons and consider using live polls to keep the conversation going.
Step 5: End the Broadcast and Review Performance
When your live session is complete, end the broadcast by pressing Finish.
- Save and Share: After the broadcast ends, you’ll have the option to save it to your timeline. This is a great way to continue engagement after the live stream is over.
- Analyze Performance: Facebook provides insights into your live stream’s performance, including viewer count, engagement metrics, and audience demographics. Use this information to refine future broadcasts.


