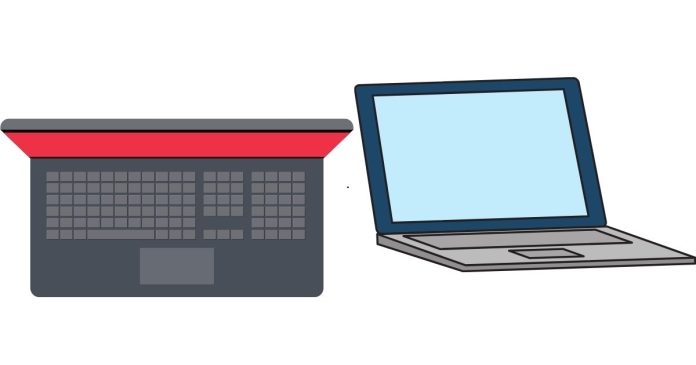
Many laptop users prefer to disable their touchpad when using an external mouse, as it prevents accidental touches. Whether you’re trying to avoid unintended cursor movement while typing or simply prefer a mouse, here’s how to disable or enable your laptop’s touchpad.
Windows Users
1. Using the Settings Menu:
– Open the Start Menu and go to Settings.
– Select Devices and then Touchpad.
– Toggle the switch to disable or enable the touchpad.
2. Using the Device Manager:
– Right-click on the Start Menu and select Device Manager.
– Scroll down to Mice and other pointing devices, and locate your touchpad device (it may be listed as “Synaptics,” “ELAN,” or similar).
– Right-click on the touchpad entry and select Disable device to turn it off, or Enable device to turn it back on.
3. Using Keyboard Shortcuts:
Many laptops come with a shortcut to quickly disable or enable the touchpad. This typically involves pressing the Fn key (Function key) along with a designated key (usually one of the F keys, like F6, F7, or F9) that has a touchpad icon on it.
Mac Users
1. Through System Preferences:
– Click on the Apple menu in the top-left corner and select System Preferences.
– Choose Trackpad.
– Uncheck the option for “Enable Trackpad” or similar to disable the touchpad.
– To re-enable it, simply check the box again.
Third-Party Software
Some laptops come with third-party software, such as Synaptics or ELAN, which provides a specific control panel to manage touchpad settings. You can usually find options to disable/enable the touchpad directly from the software interface.
By following these simple steps, you can easily disable or enable your laptop’s touchpad according to your preferences.


