How Do I Check Out a Remote Git Branch?
Introduction
Defination of a remote Git branch and it’s useful.
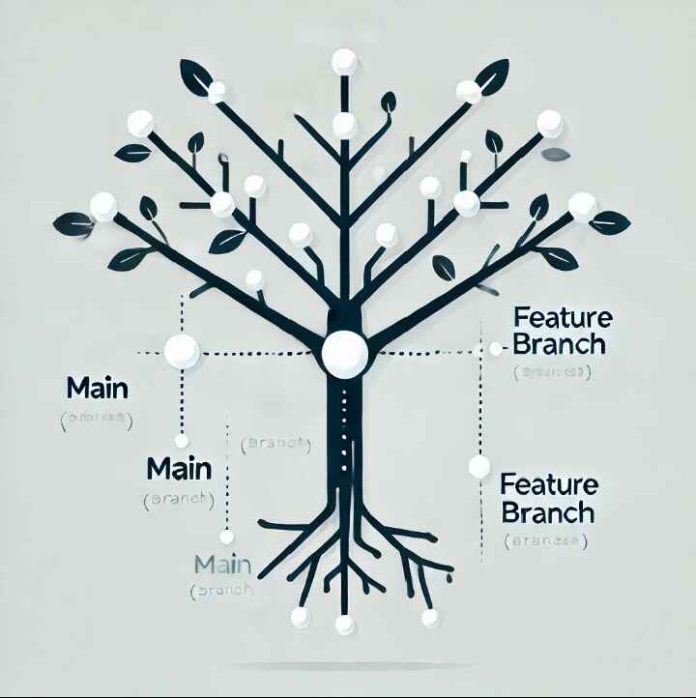
A remote Git branch is a branch that exists on a remote repository, typically hosted on a platform like GitHub, GitLab, or Bitbucket, rather than on your local machine. It serves as a reference point for the state of the branch in the remote repository, allowing collaboration among team members.
Remote branches are prefixed with the name of the remote (e.g., origin/main) and are used to track changes made by others. For instance:
origin: The default name of the remote repository (though it can vary).
main, feature/new-feature: Names of branches within the remote repository.
Remote branches are not automatically synchronized with your local branches. To keep them updated, commands like git fetch or git pull are used. Remote branches help in collaboration by letting team members push, pull, and merge changes without overwriting each other’s work.
Key Features:
1. Read-Only: Remote branches cannot be modified directly; you must fetch, check out, or pull them to work on them locally.
2. Tracking: When you check out a remote branch, Git typically sets up a “tracking branch” that links your local branch to the corresponding remote branch.
3. Collaboration: Remote branche
s allow multiple
Step-by-Step Guide
Step 1: Ensure You Have Git Installed
Provide a quick command to check Git installation:
git –version
Add installation steps for Git (link to official documentation).
Step 2: Clone the Repository (If Not Already Done)
Explain that you need to have a local copy of the repository.
Add the clone command:
git clone <repository-url>
Step 3: Fetch the Remote Branches
Explain that fetching ensures you have the latest branch references.
Command:
git fetch
Highlight that fetch doesn’t modify local branches but updates the branch list.
Step 4: List All Remote Branches
Show how to list all branches, including remote ones:
git branch -r
Explain the naming convention: origin/<branch-name>.
Step 5: Check Out the Remote Branch
Provide the main command:
git checkout <branch-name>
For modern Git versions, use:
git switch <branch-name>
Note: If the branch doesn’t exist locally, Git automatically tracks it.
Step 6: Verify Your Current Branch
Explain how to confirm you’ve switched to the correct branch:
git branch
Common Pitfalls and Troubleshooting
Branch Doesn’t Appear in git branch -r: Suggest running git fetch.
Checkout Errors: Explain how to resolve conflicts if there are local changes.
Using a GUI Tool: Mention that many Git GUI tools simplify this process.
Best Practices
Keep your local branches up-to-date with remote branches using:
git pull
Regularly clean up unused local branches with:
git branch -d <branch-name>
Conclusion
Recap the steps to check out a remote Git branch.
Emphasize the importance of mastering Git for collaboration and version control.


